Local Object Storage with FlyEnv
MinIO is an open source object storage server that speaks the Amazon S3 API. Developers reach for it when an application needs S3-compatible storage during development and testing without provisioning real cloud buckets. FlyEnv runs MinIO as a managed local service, giving you that storage without Docker or manual setup. Install MinIO versions from the app, edit minio.conf through a visual settings form, give each version its own data directory, and open the MinIO Console in your browser with one click.
Version management
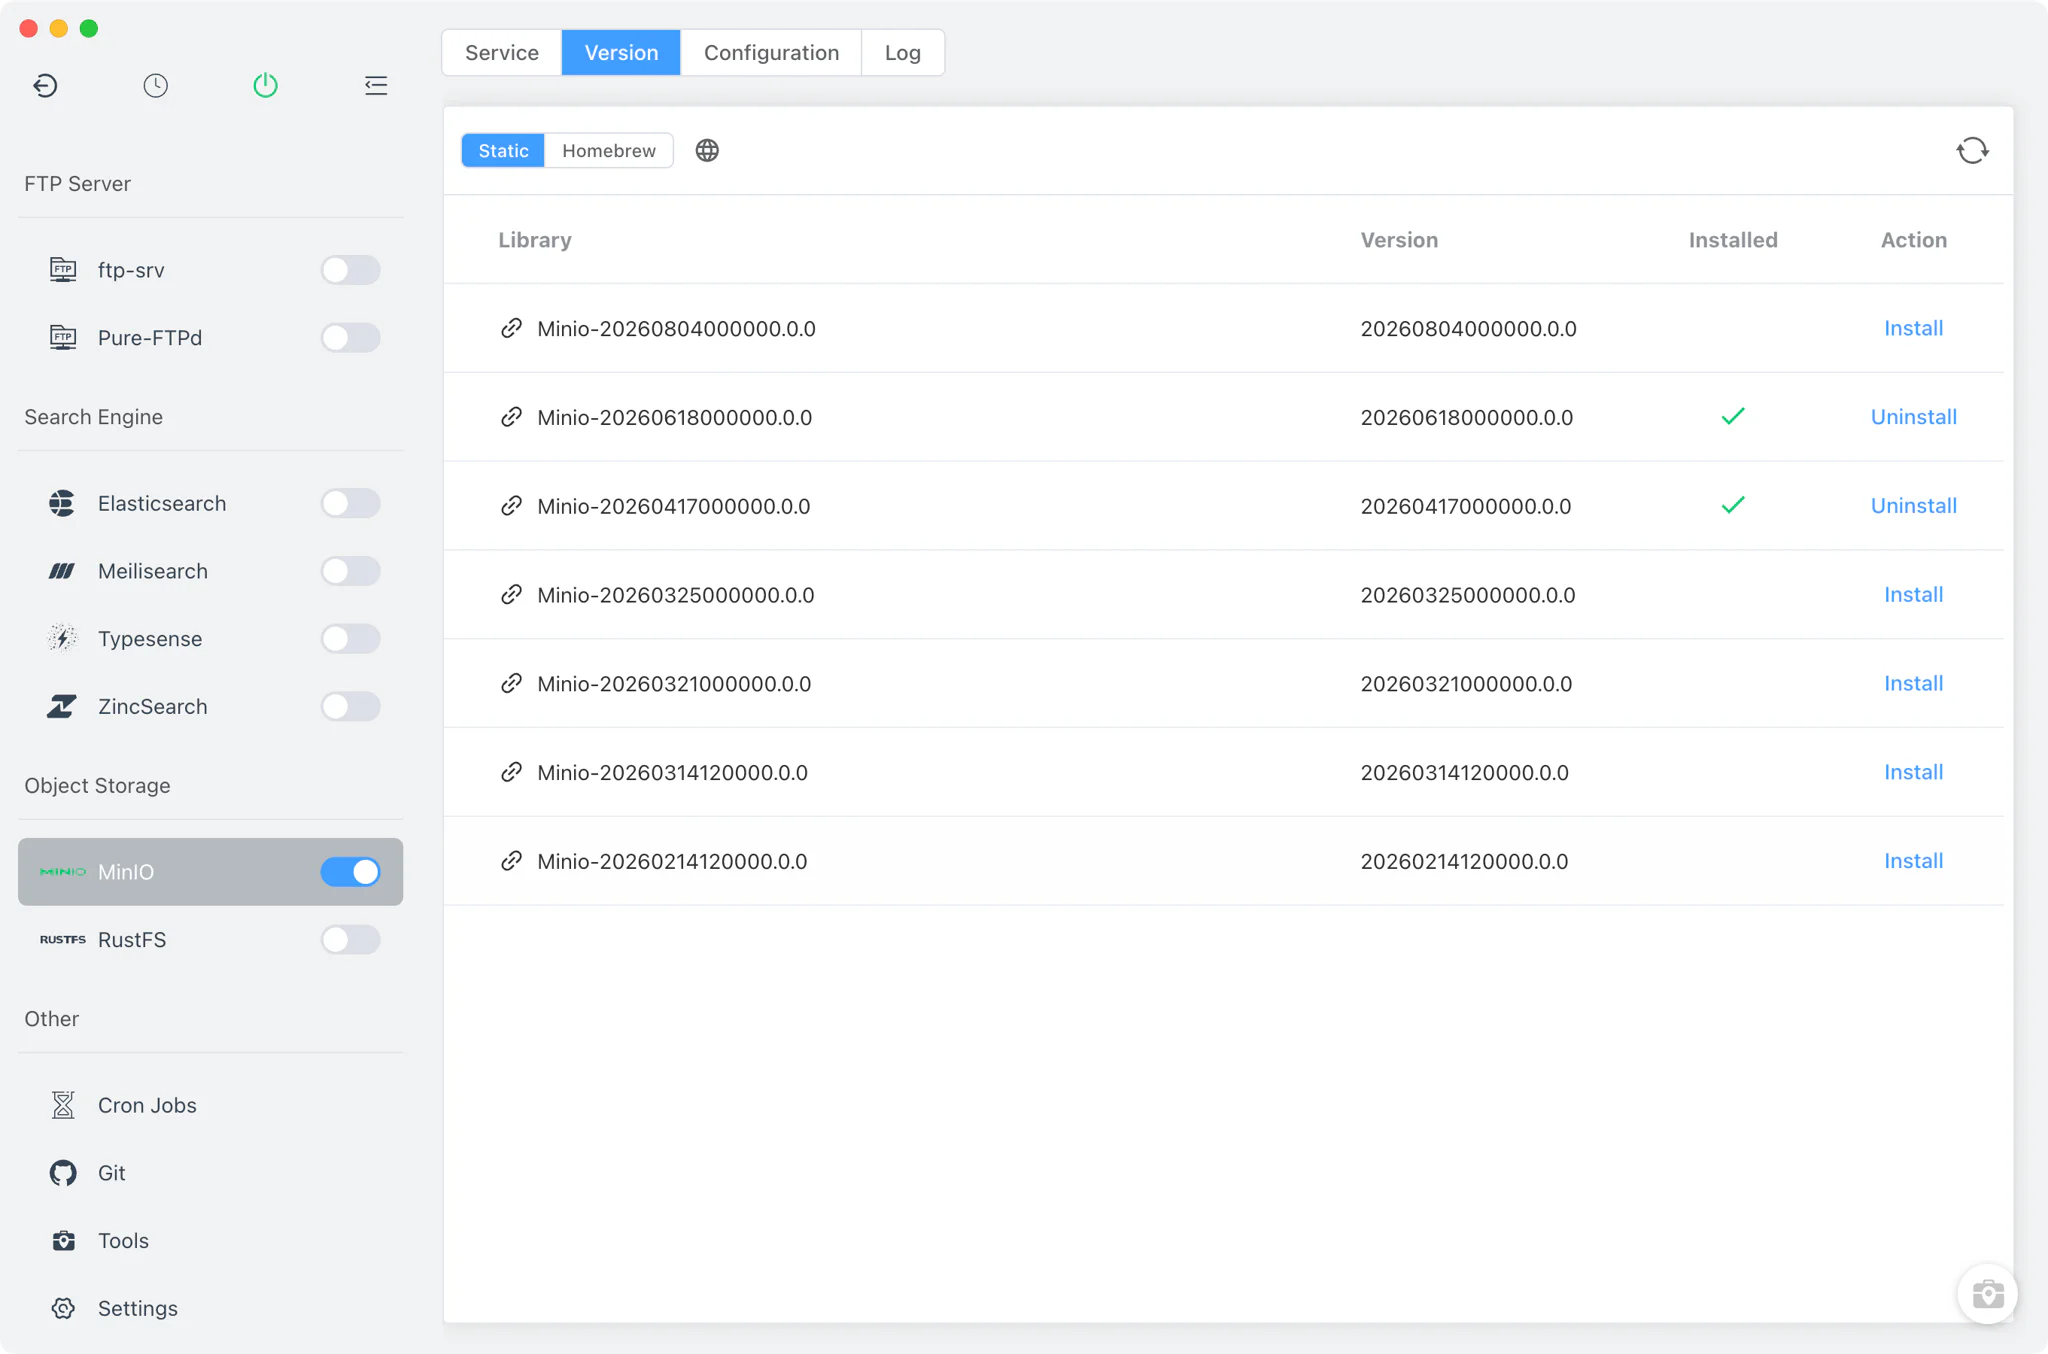
Install and keep multiple MinIO versions from MinIO → Version Manager, and pick which one the service runs.
- Install sources: a static online list of ready-made MinIO builds, plus Homebrew on platforms that provide it.
- Custom versions: add any directory containing your own MinIO installation; FlyEnv lists those builds next to the managed versions.
- Handled installs: after installing on macOS, FlyEnv fixes the binary permissions (
chmod 0755) and clears the quarantine attribute so the server can start immediately.
Service and configuration
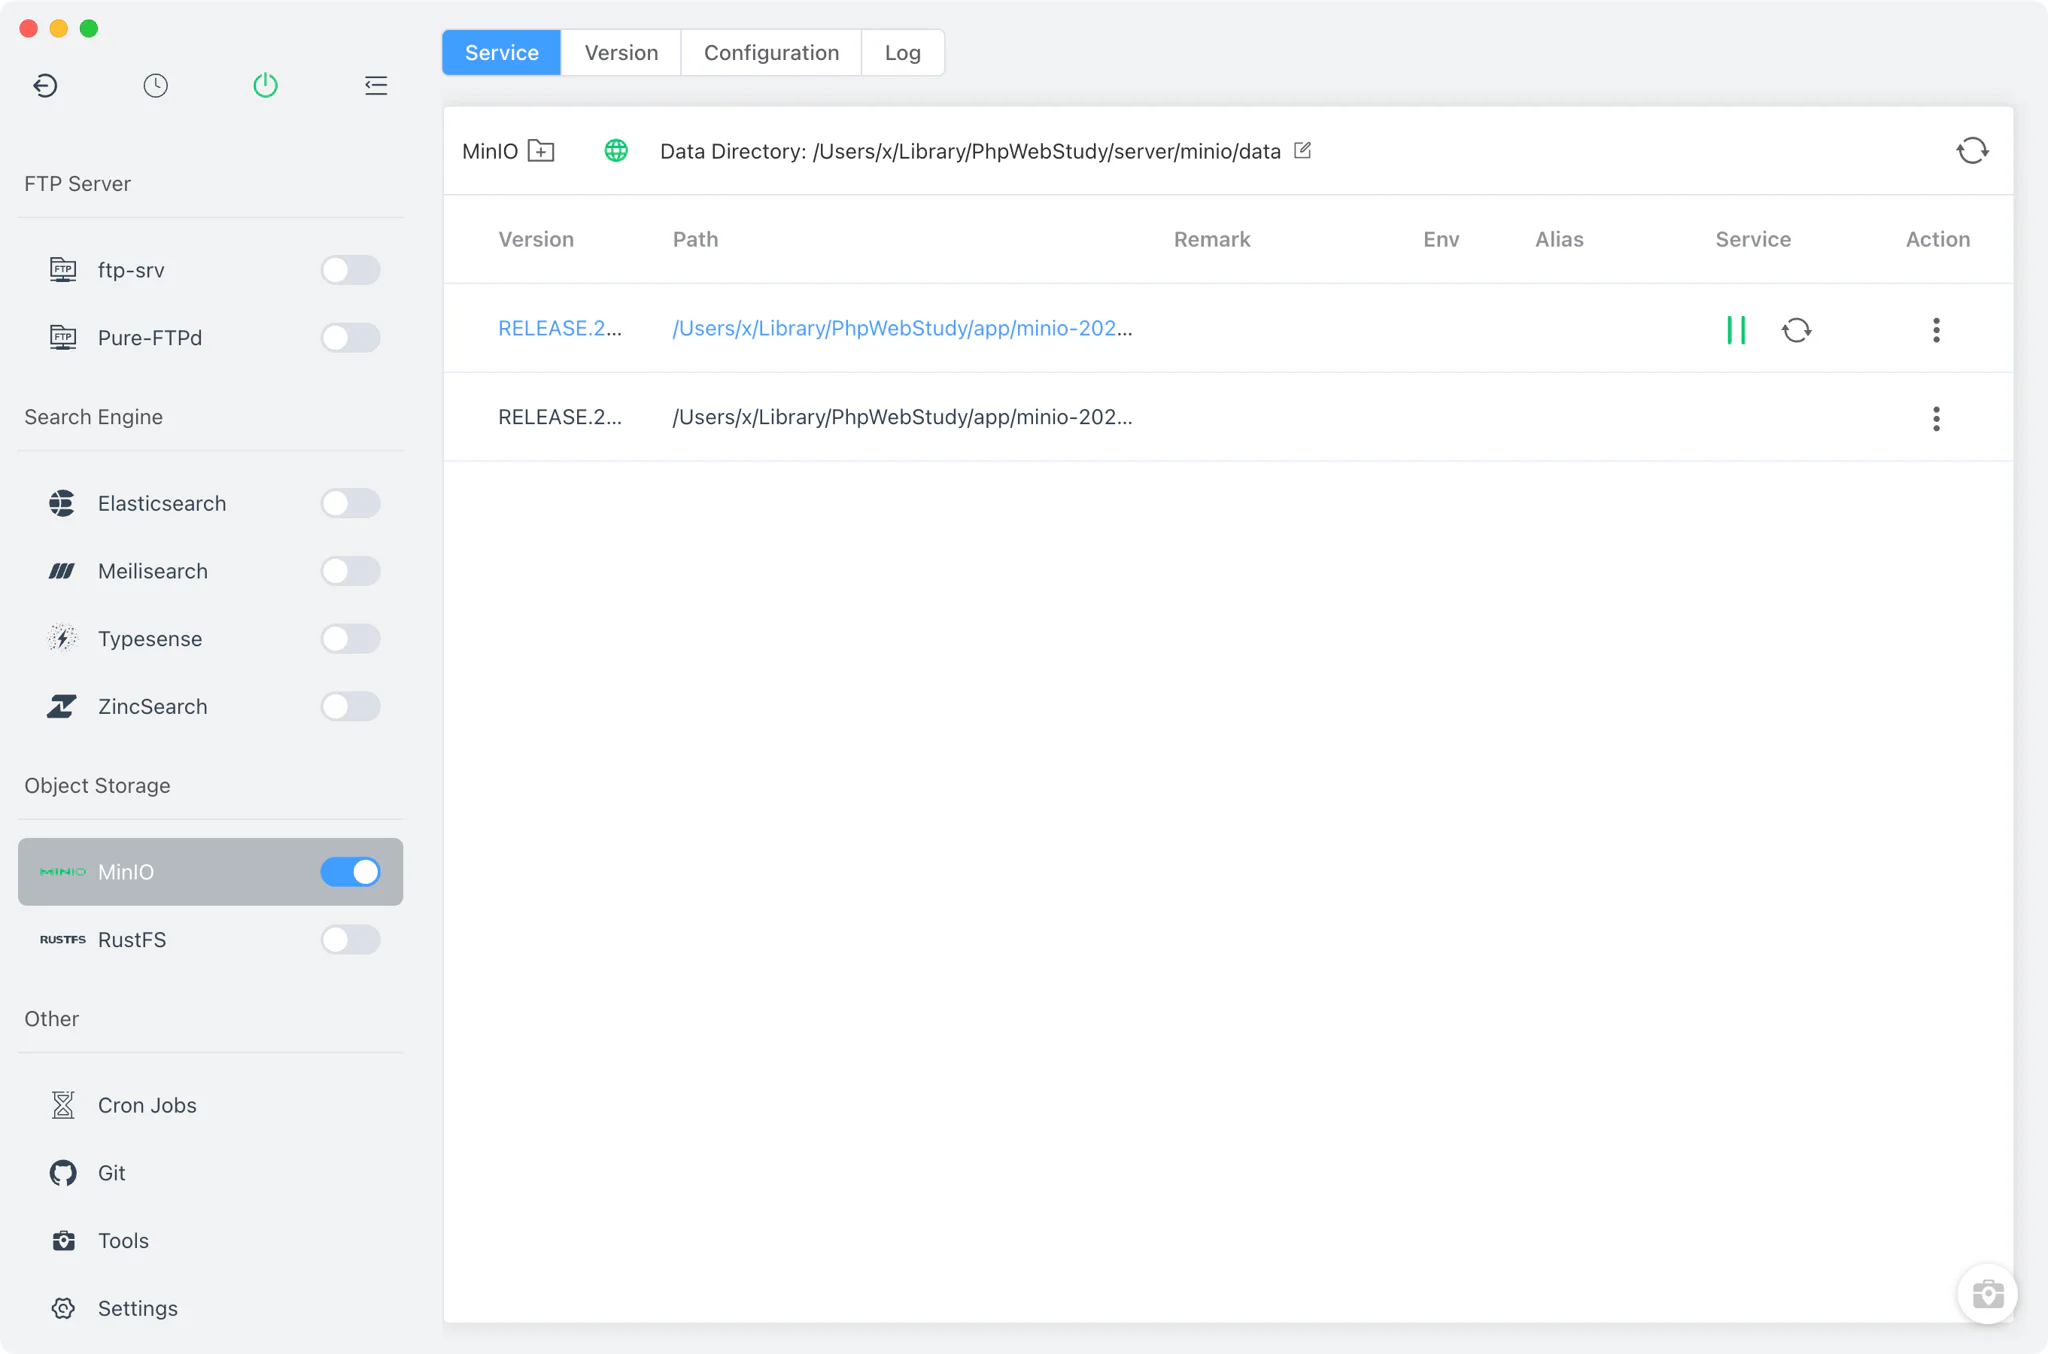
The Service tab starts the selected MinIO version as a real foreground process — minio server <dataDir> with --address, --console-address and --certs-dir flags built from your configuration. A fixed pid file keeps the module to a single running instance, and the sidebar switch (also available in the system tray) starts or stops the service.
- Per-version data directory: each MinIO version stores its objects in its own directory (default
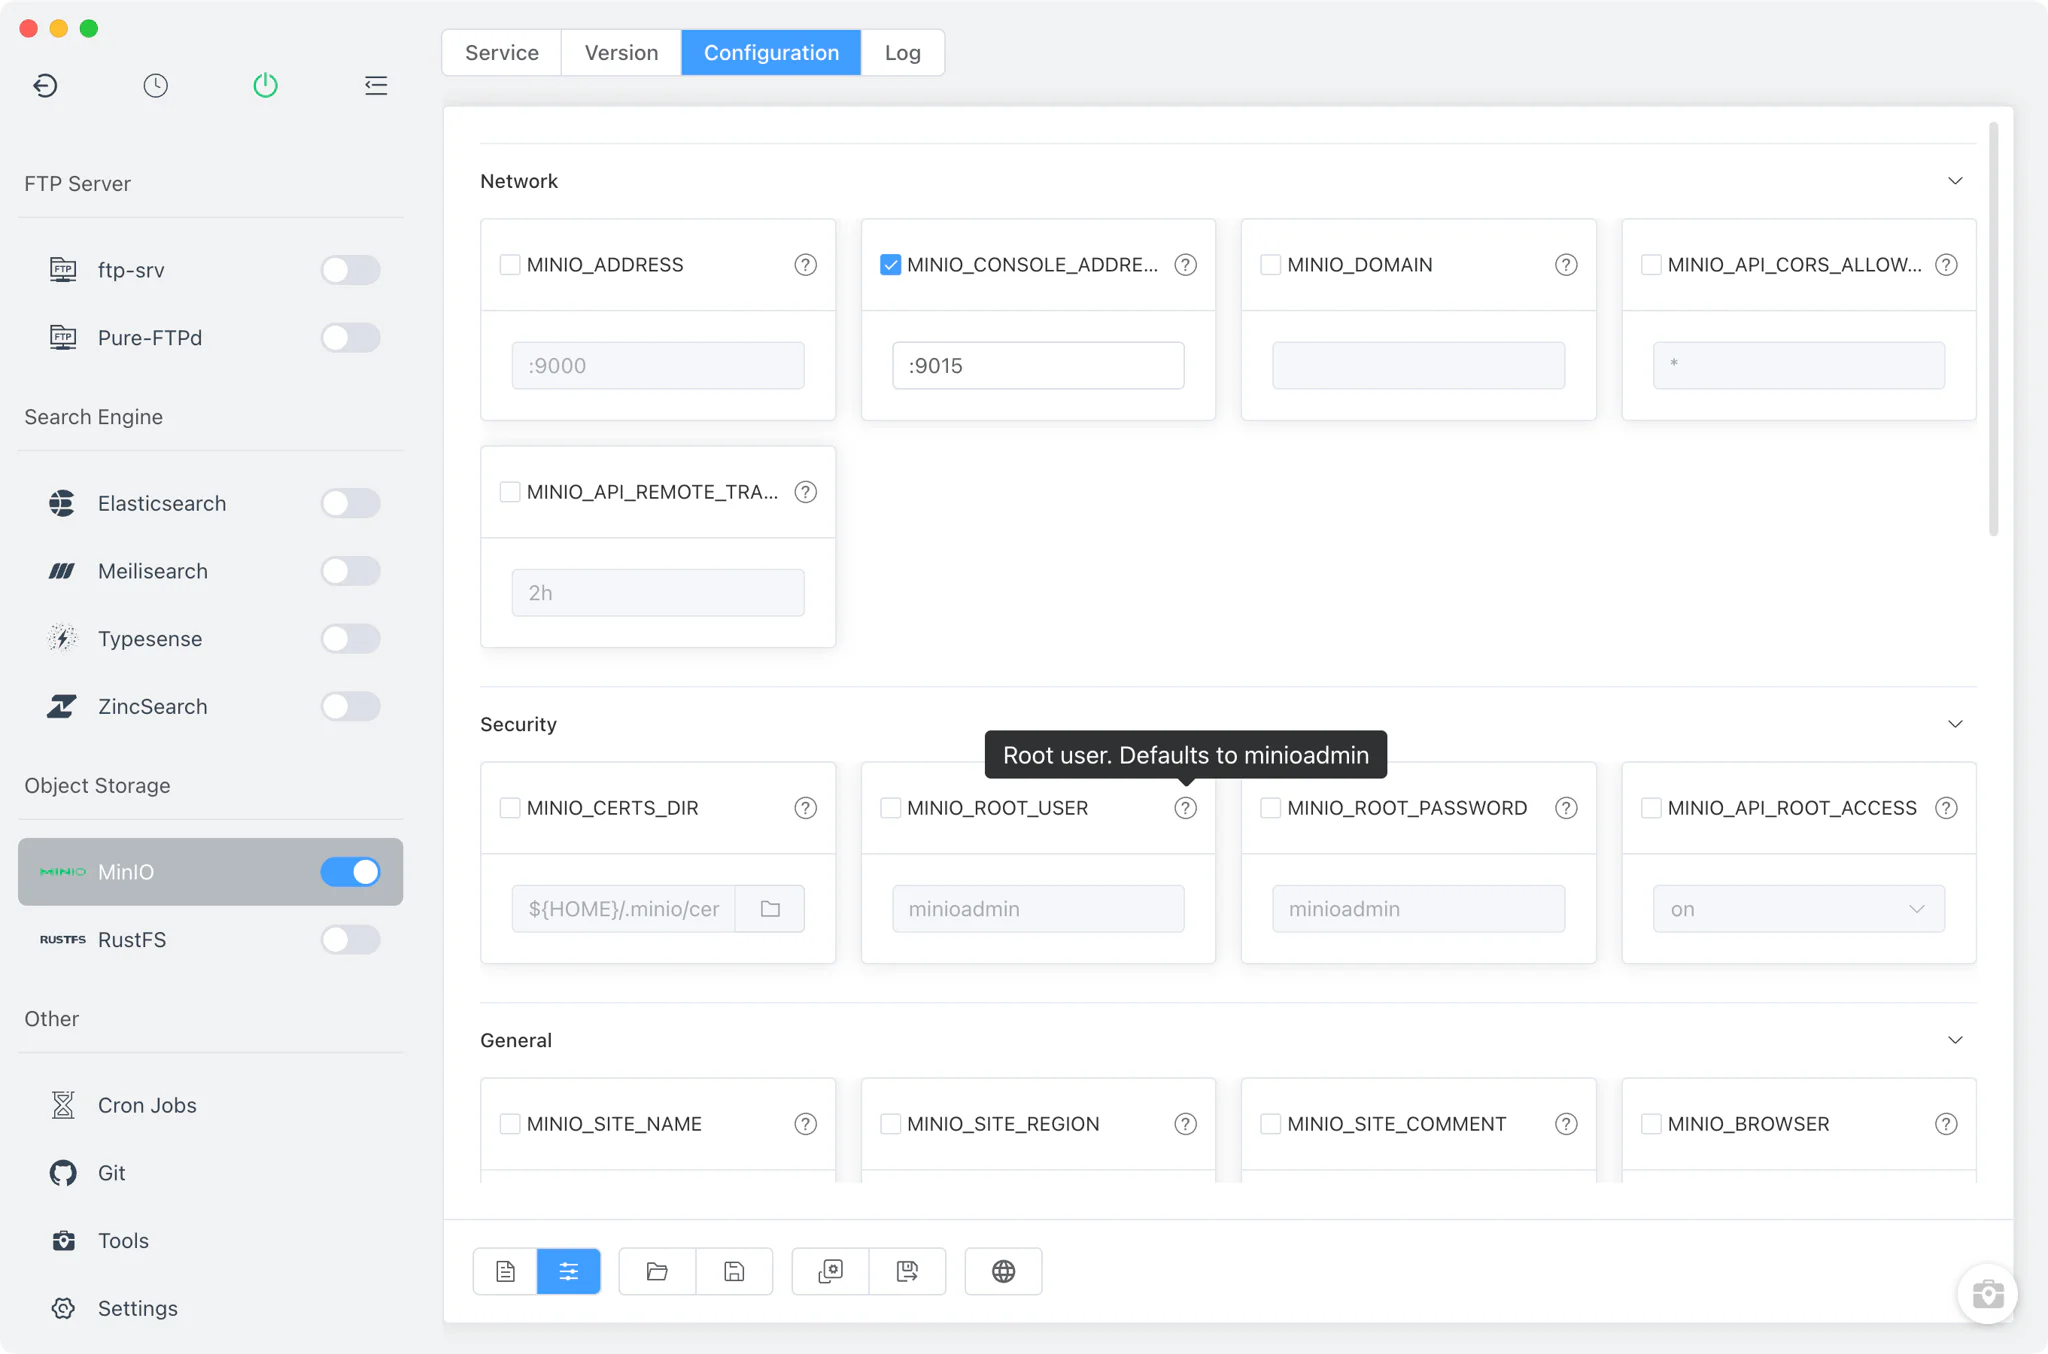
minio/dataunder FlyEnv's MinIO folder). Change it with the folder picker in the Service toolbar; the choice is remembered per version. - Visual Common Settings form: the Config File tab edits
minio/minio.confthrough a grouped form of about 30 keys across Network, Security, Storage, Cluster, Performance and General —MINIO_ADDRESS,MINIO_CONSOLE_ADDRESS,MINIO_ROOT_USERandMINIO_ROOT_PASSWORD(defaultminioadmin/minioadmin), the certificates directory, browser on/off, erasure-code classes, etcd and API tuning options. - Raw editor: switch to the full source view of
minio.conffor anything the form does not cover; theMINIO_*lines are applied to the server on the next start.
MinIO Console
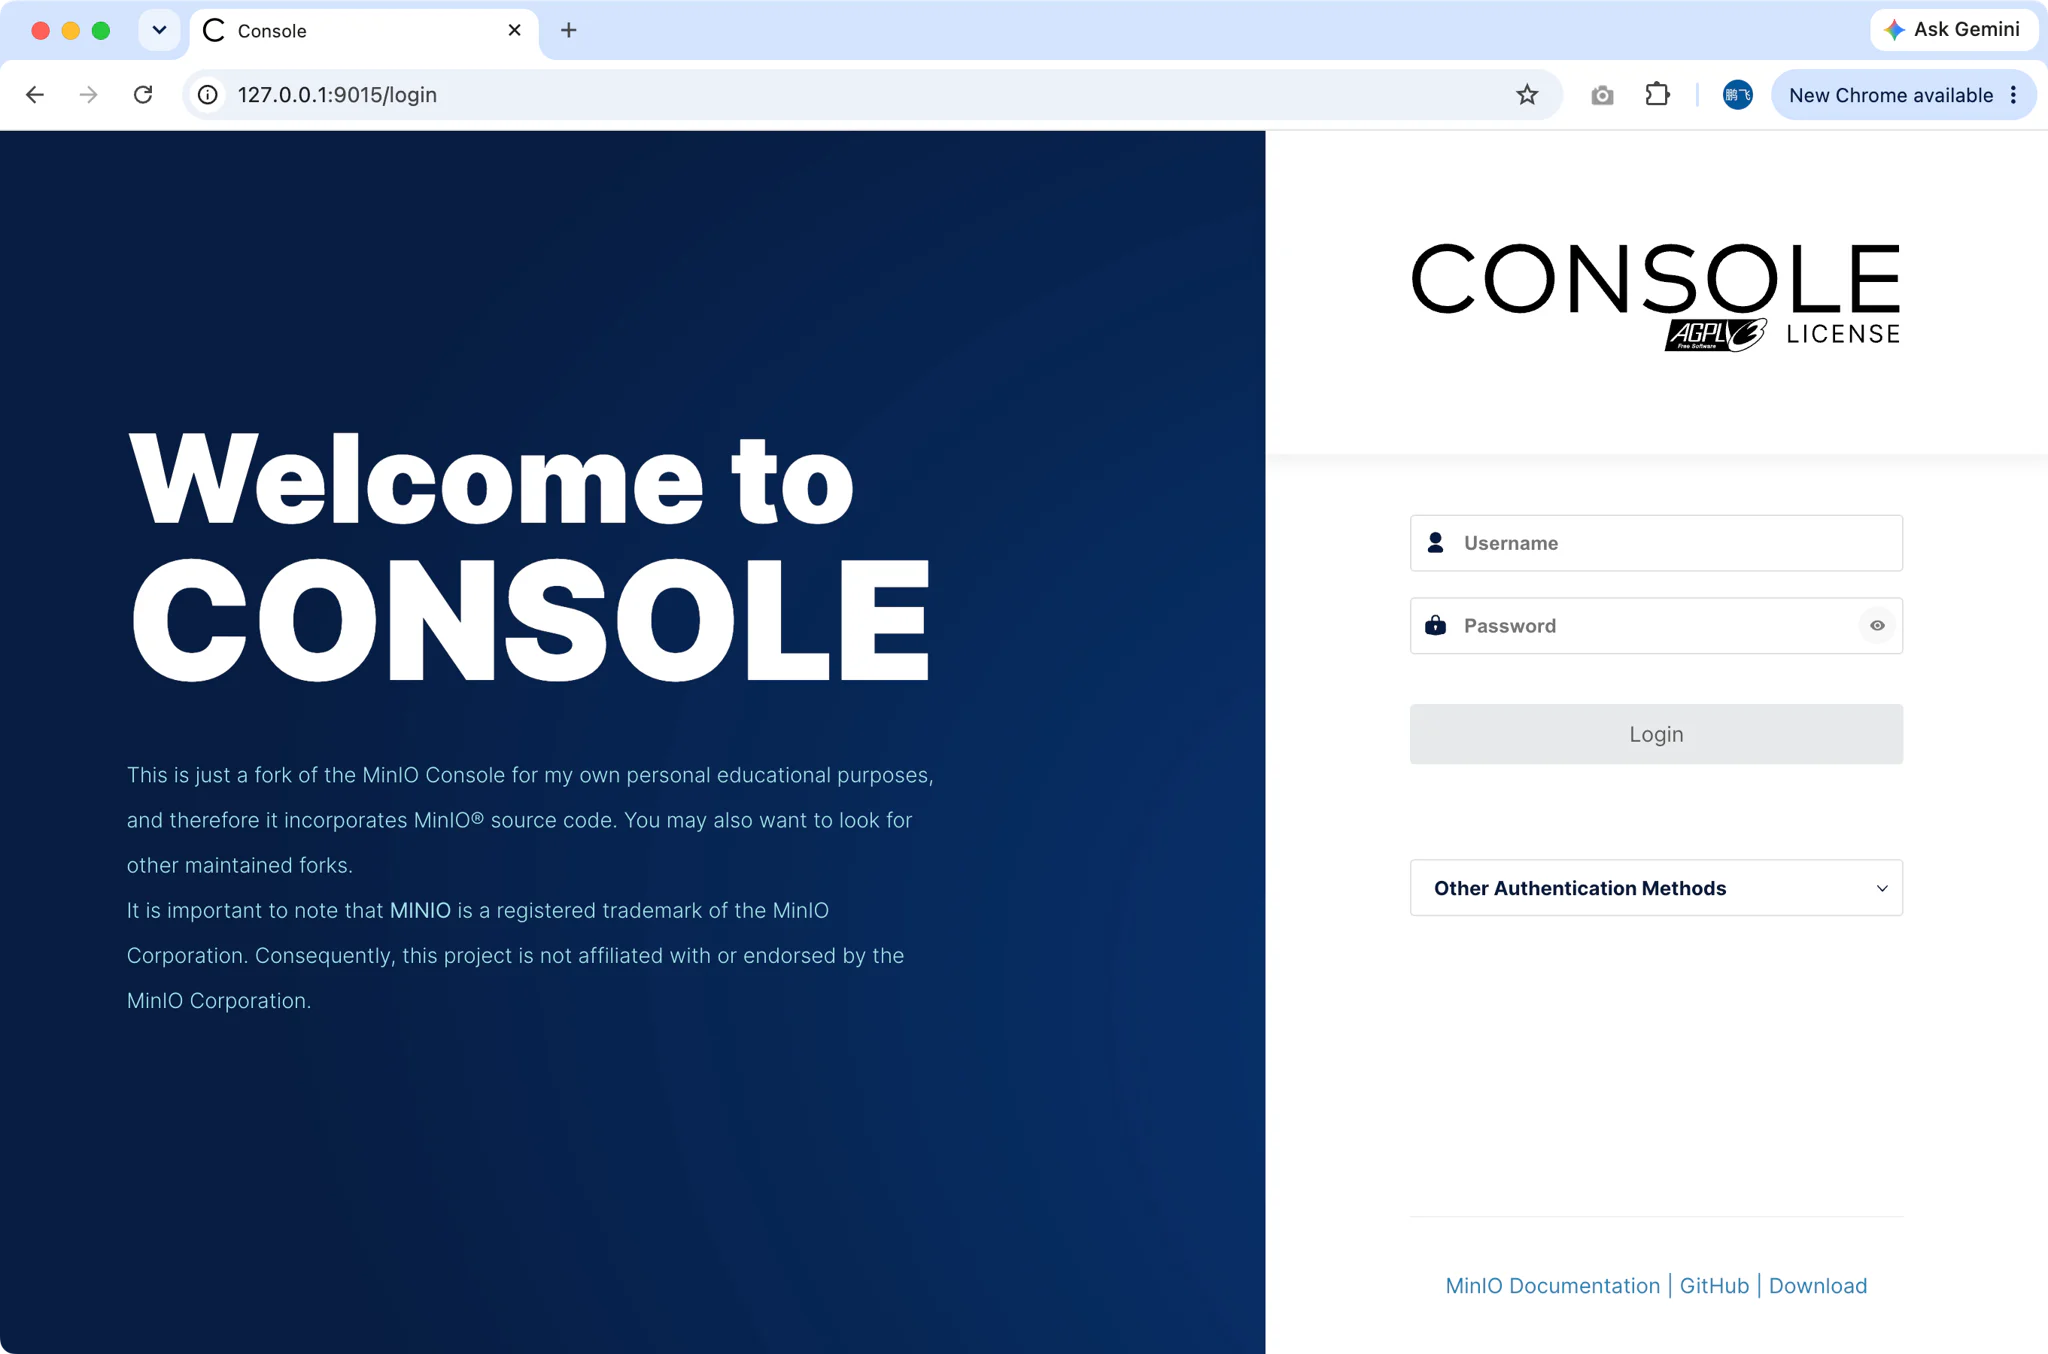
MinIO ships with its own web Console, and FlyEnv wires it up for you. The console address is normalized to 127.0.0.1:9001 by default (adjustable via MINIO_CONSOLE_ADDRESS in the configuration), and the Console button in the Service toolbar opens it directly in your browser — no separate install, no port hunting. Sign in with the root credentials from the configuration to manage buckets, objects and access policies through the official MinIO web UI.
Logs
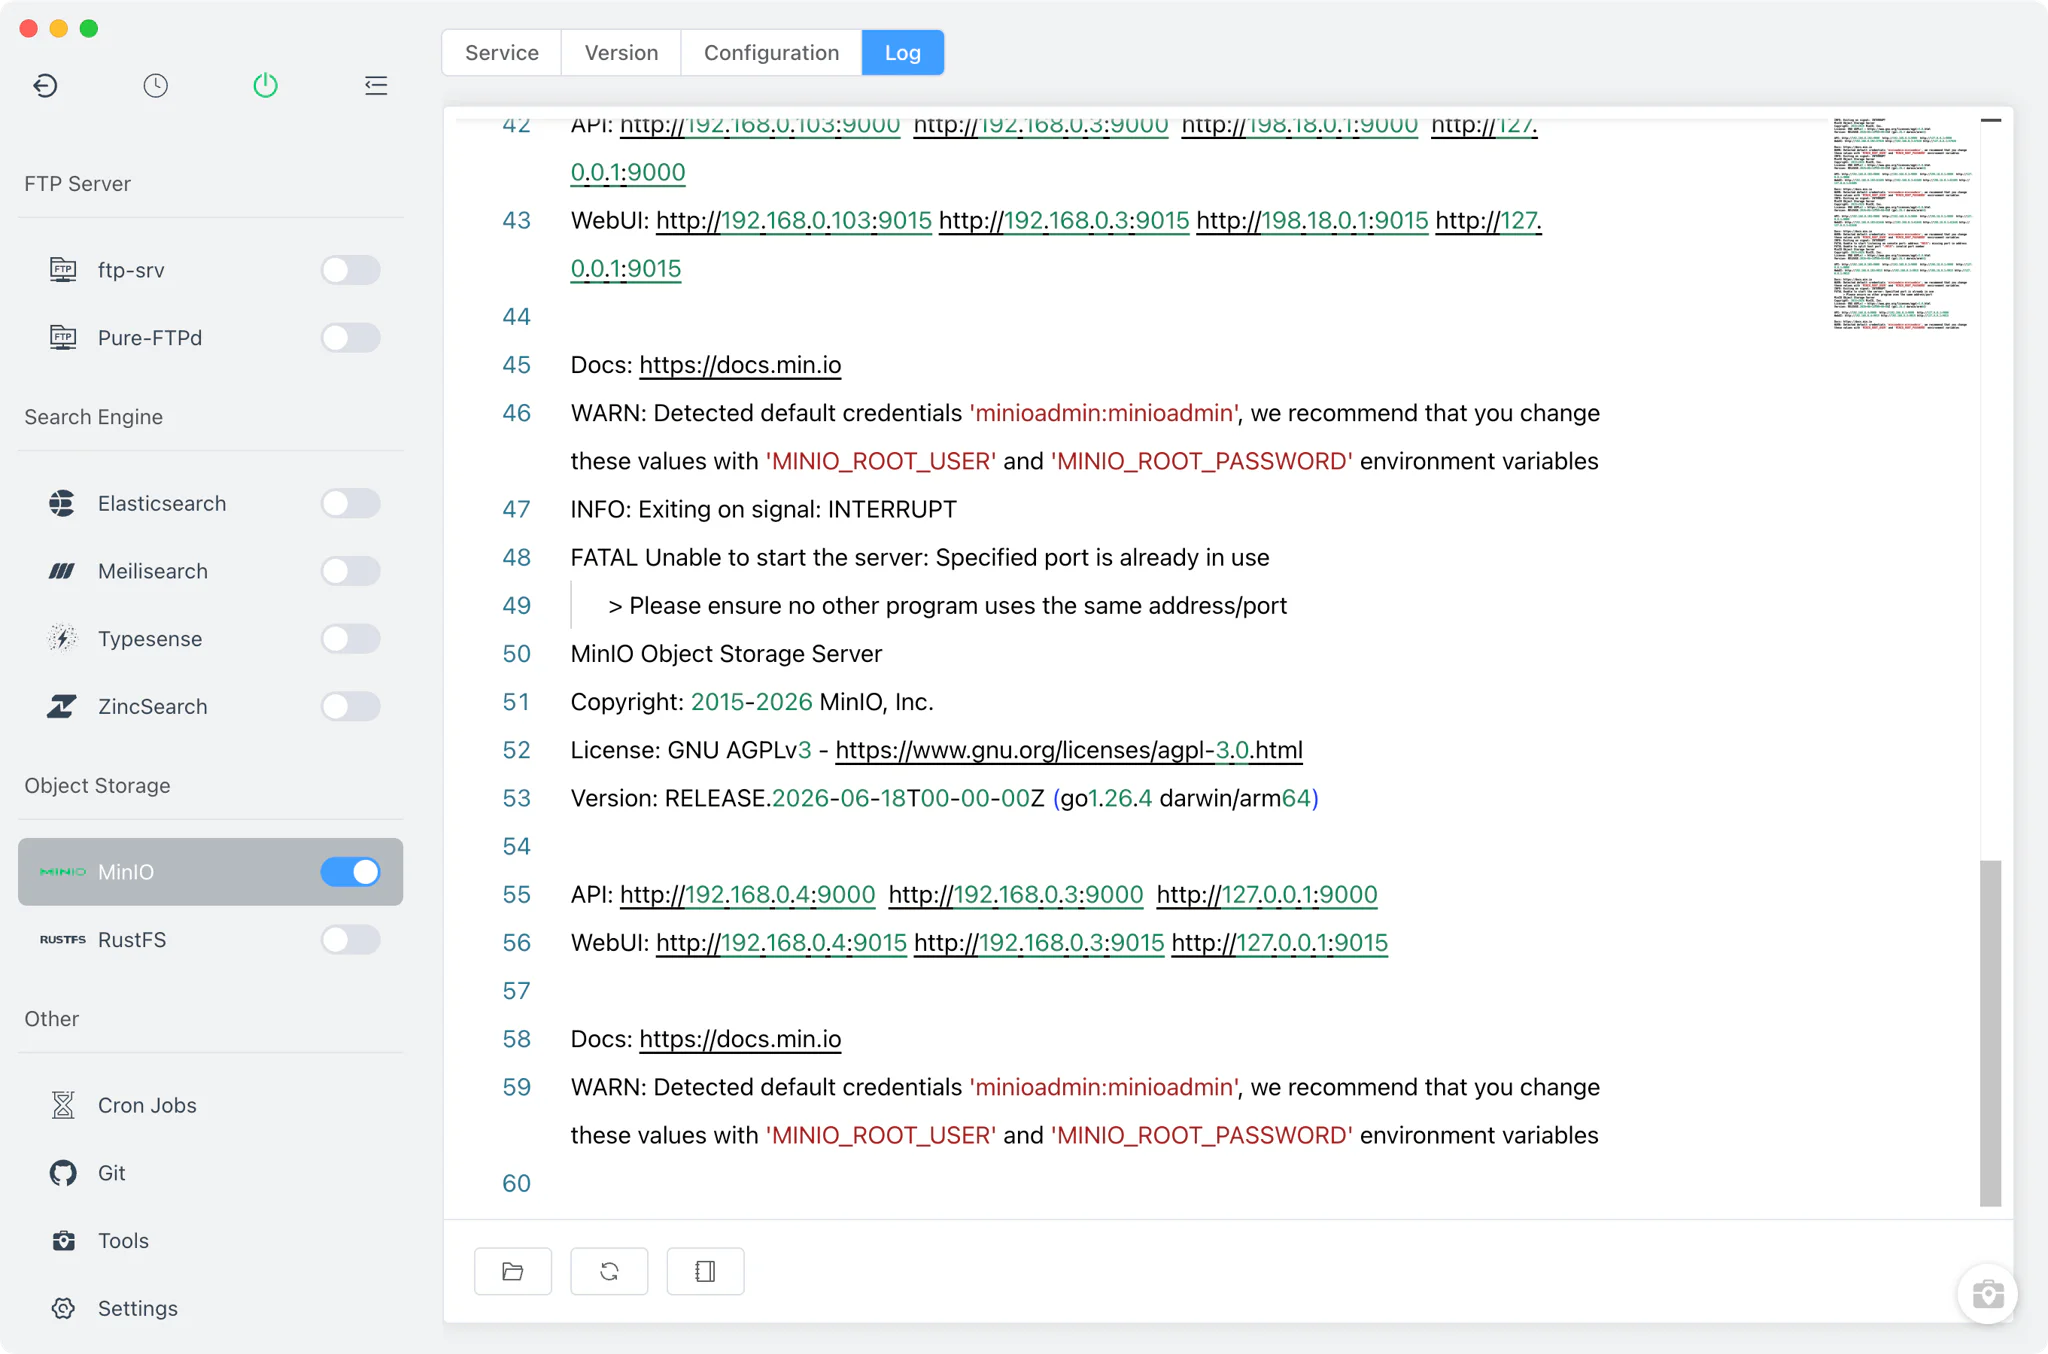
The Log tab opens the per-version log files directly inside FlyEnv: minio-<version>-start-out.log for standard output and minio-<version>-start-error.log for errors. When a version fails to start, the error log is the first place to look — port conflicts and data-directory problems show up there immediately.
Related guides, solutions and demos
Continue with a practical guide, solution, demo, or community perspective.
Compatibility Notes
The MinIO module runs a single instance at a time — one version, one data directory, one console address — so switch versions or data directories from the Service tab rather than starting several servers. The versions offered in Version Manager depend on the static online list and on what Homebrew publishes for your platform; MacPorts is not an install source for MinIO. FlyEnv manages the local MinIO process, its configuration file and its data directories; bucket contents, access policies and everything inside the S3-compatible API belong to MinIO itself. Applications that speak the S3 API — the upload provider of a Strapi site or the external storage of a Nextcloud instance, for example — can target this local endpoint during development, and RustFS is available as an alternative S3-compatible module if you prefer a Rust implementation. Treat the in-app version list and the Download page as the source of truth for what can be installed, and see Demos for a walkthrough of the module in action.